- Ride Safe

- Get Started
- Ride Safe
Ride Safe
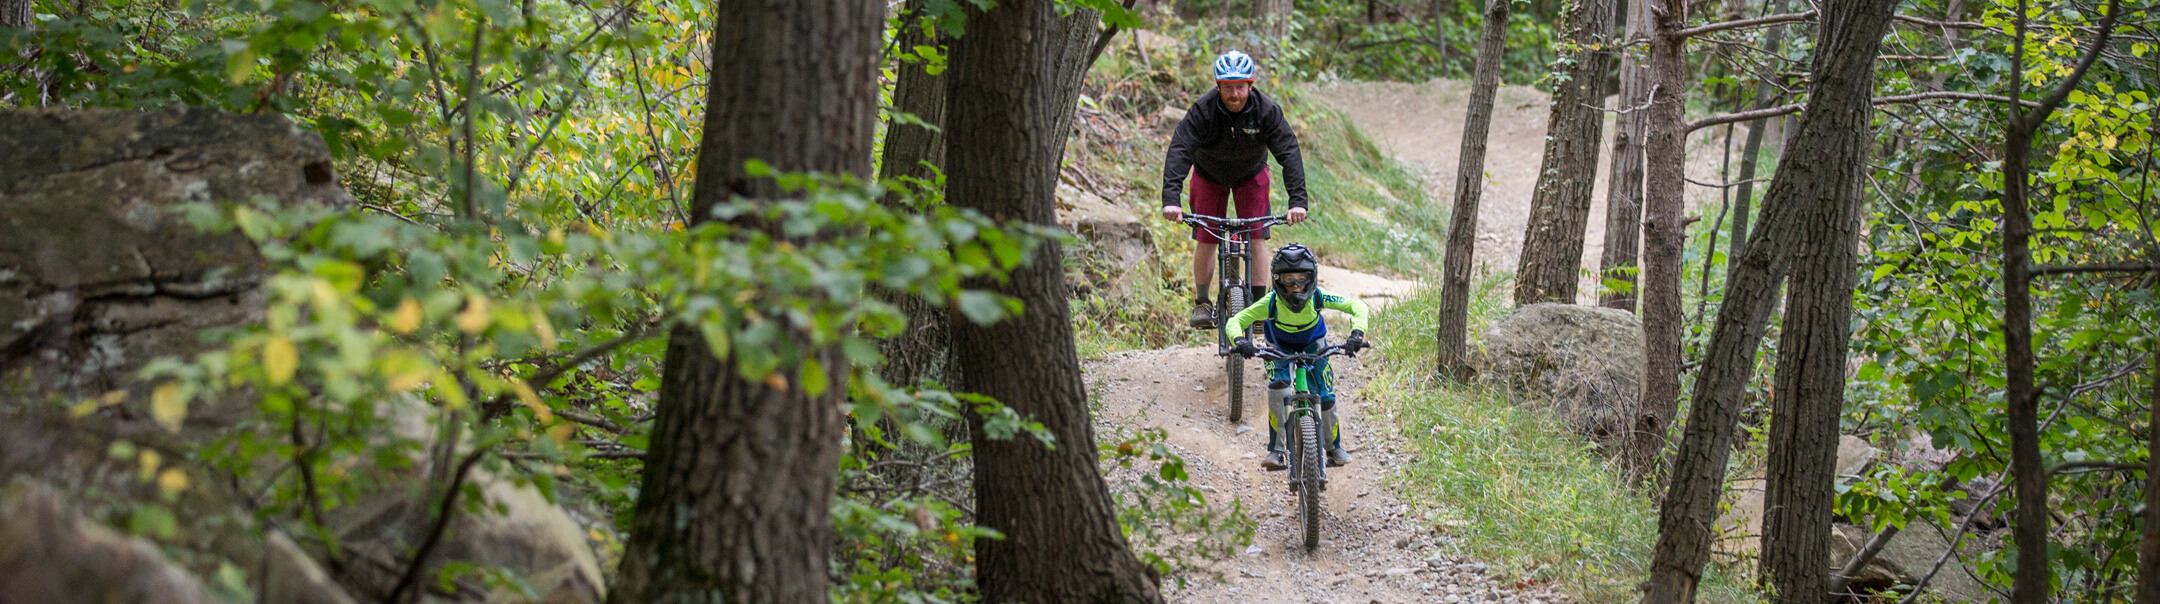
Whether it’s your first time in the park or it’s your first lap, it’s important to ride smart. Slow down before you speed up because crashes can happen often on your first lap. Ride a trail multiple times to get familiar with the features and equipment first so you can confidently push your limits without pushing your threshold.


Trail Progression
Follow these 3 steps when starting to ride
- Warm up the brain and body and inspect the trail at low speed.
- Lap a trail a few times and get to know the flow of the features.
- Start small and work your way up to faster speeds and larger features.
Match your skill on the right trail
All trails within the Bike Park are designated by color-coded markers at the start of each trail. Work your way up to more advanced trails and features based on your progression, skill, and comfort level. Understand there are also two types of trails as well: Freeride and Technical and both types range from Beginner to Expert.
FREERIDE TRAILS: JUMPING SKILLS REQUIRED
Freeride trails are built by machines and contain manmade features including jumps, drops, gaps, wallrides, narrow surfaces, berms, and other natural or constructed features. Freeride trails are distinguished with an orange oval around the difficulty symbol.
Beginner
- Smooth, wide surfaces with gentle corners and rolling terrain.
- Designed for new bike park riders.
Intermediate
- Smooth surfaces on steeper terrain, including larger corners, rollers, and small jumps.
- Raised features like bridges and wallrides require jumping skills and speed.
- Suited for riders who have mastered all beginner freeride trails.
Advanced
- Mix of smooth and rough riding surfaces on steep and fast grades.
- Larger-man-made features including jumps, raised bridges, and steep wallrides.
- Advanced jumping skills required.
- Suited for riders who have mastered all intermediate freeride trails.
Experts only
- Trails with steep terrain and very fast speeds that require expert jumping skills.
- Mandatory jump features that require knowledge of gaps and landings.
- Suited for the most advanced riders only.
Pro line
- Largest gaps and mandatory jump features.
- Expert jumping skills required.
- Suited for the most advanced riders only.
Technical trails
Technical trails are designed to embrace the rugged shape and terrain of the mountain, utilizing a majority of natural terrain features. Trails are typically hand-built and feature organic obstacles and stunts such as rocks, roots, logs, drops, jumps, and other natural or constructed features that require technical riding skills. Technical trails are identified by just their difficulty symbol.
Beginner
- Rougher singletrack trails with small rocks and roots.
- Designed for new bike park riders comfortable with beginner freeride trails.
Intermediate
- Rougher terrain with tighter corners and steeper grades.
- Larger natural obstacles, including roots and rocks.
- Suited for riders who have mastered all beginner trails.
Advanced
- Steep grades with large technical features, including rocks, roots, and drops.
- Technical handling through tight trees and rough sections.
- Suited for riders who have mastered all intermediate technical trails.
Experts only
- Steepest grades with the most technical features.
- Warming up on intermediate and advanced trails encouraged.
- Suited for the most advanced riders only.
Pro line
- Most difficult technical terrain on the mountain mixed with freeride features.
- Proficient handling of all bike skills required.
- Suited for the most advanced riders only.
Know the Code
Be safety conscious. It is your responsibility to know the code.
- Always walk your bike through the base area of the resort including common areas and pedestrian walkways. Riding your bike in these areas will result in loss of riding privileges
- Maintain control at all times. It’s your responsibility to stop or avoid other riders, objects, debris and wildlife around you
- Yield to slower riders and yield to the rider below you. This is your responsibility, regardless of trail ratings.
- Do not stop where you obstruct a trail, feature or are not visible to other riders approaching from above.
- If you are witness to or involved in a collision or accident, please assist and report the incident to the Bike Park staff.
- Keep off closed areas and obey all signs and warnings.
- Always start on marked bike trails. Do not ride on ski trails or access roads unless marked as part of a bike trail
- Hiking or uphill mountain biking in the Bike Park on bike-specific trails is not permitted and dangerous.
- Do no feed, provoke or approach wildlife.
Park privileges will be revoked for breach of code. Know the code! It is your responsibility to know the Mountain Biker’s Responsibility Code to ensure a safe and fun experience for all guests. Please take your time to review the code here before heading out to the Bike Park.
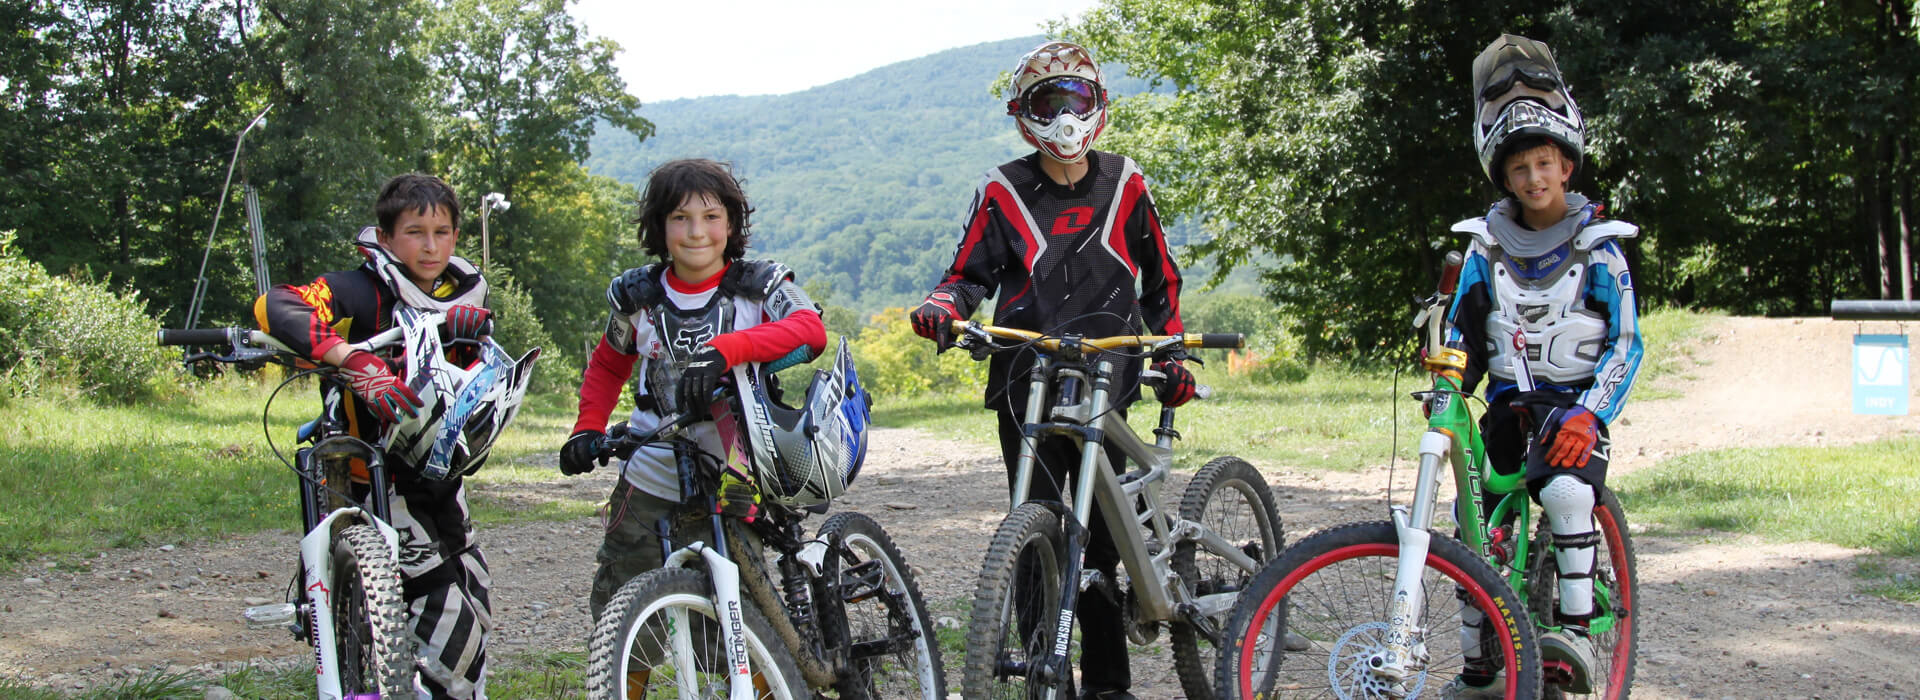
What to Wear
Ride Smart. Cover Up.
Don’t let weather, obstacles, or crashes put an early end to your day. Protect your body from a range of elements and injuries with this recommended protective gear designed exclusively for downhill mountain biking.
- Helmet (Mandatory) – A helmet is required for all riders in the bike park. We strongly recommend a full-face helmet to provide the greatest range of protection.
- Goggles – Wrap-around goggles are the best choice for eye protection against dirt, branches, and other obstacles you’ll encounter on the trails or in a crash.
- Elbow and Knee Pads – Provide protection from cuts, scrapes, and any impact to these parts of your body that are most common to be injured in a crash.
- Closed-Toe Shoes – Shoes with a durable toe box and high ankle support are important to manage the rough terrain and impact.
- Long-Sleeved Shirt and Shorts – Cover up with the proper clothing to limit the amount of bare skin showing.
- Full Finger Gloves – Use these to keep your hands on your bars with secure grip on your brakes. Your hands are typically first to support you in a crash so you want them covered up.
- Body Armour – Optional for anyone who wants extra protection for your back and chest.
- Neck Brace – Optional for anyone who wants extra neck support which typically is needed when hitting large jumps and drops.
Mountain Creek Bike Shop
The Mountain Creek Bike Shop located in the Red Tail Lodge offers everything a downhill enthusiast could need or might have forgotten. Stop on in and let our friendly staff get you sorted out for a great day on the trails.